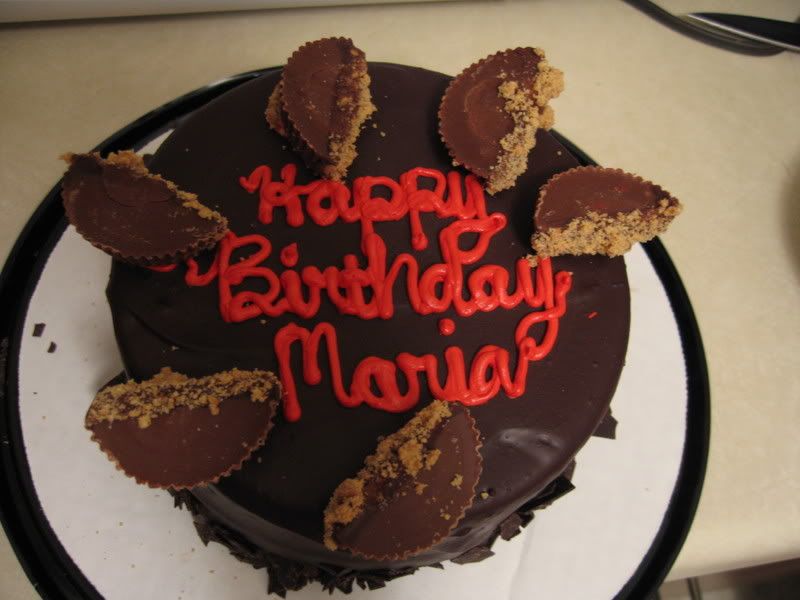
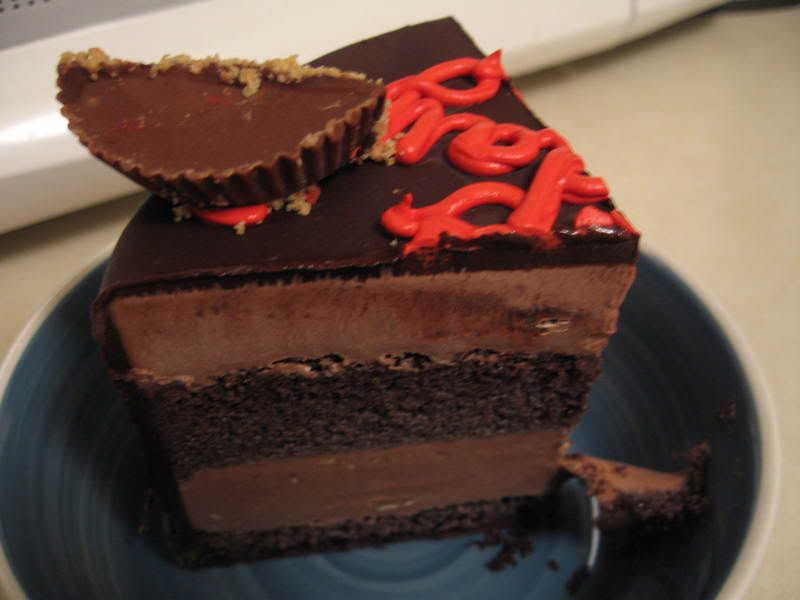
We were both very happy with dinner and it was topped off with ice cream cake from Cold Stone Creamery! Yay! I picked the Peanut Butter playground flavor due to my absolute love for PB and we ordered a small cake that would serve 6. It was surprisingly expensive at a little less than $30 but it was delicious! I must say that it's not peanut buttery enough for me but that might just be the nut in me talking. Even though we both enjoyed the ice cream cake, I don't think it was worth the whole $30 (and probably also not worth the gazillion calories per serving!). I think I'll try making my own ice cream cake next time!
So the other highlight of my week was my homemade pretzel experiment. Since I've started playing with yeast a few weeks ago, I have found baking with it to be very addictive. Outside of my amateur mistake of killing the yeast with super hot water, I've been successful in NOT killing them, and thus letting them do their job of fermenting and rising the batter. It's very rewarding to see your dough double or even triple in size after some time of leaving it alone in the kitchen. I also love to use my favorite gadget ever, the Kitchenaid mixer with the dough hook, to knead the dough. I know, I know, how can a "real" baker not knead by hand? I guess I haven't graduated to that level yet. I might get there ... some day.
So anyway, after experimenting with cheddar jalapeno bread and pizza dough, I decided to explore the world of pretzels. I love mall pretzels. Yep, those soft, pillowy, fragrant, seductive twines of cooked dough simply sprinkled with coarse salt or topped with more elaborate ingredients like garlic parmesan salt or cinnamon sugar. They're pretty expensive for a snack at about $3 each and that doesn't even include the decadent dipping sauces. Occasionally though, I'll fall prey to their irresistible fragrance and succumb to standing in line waiting to purchase one. So I looked for pretzel recipes on my favorite recipe site, Allrecipes.com and found a very highly-rated and relatively simple one. After reading positive reviews about the buttery soft pretzels, I decided to follow it for my project.
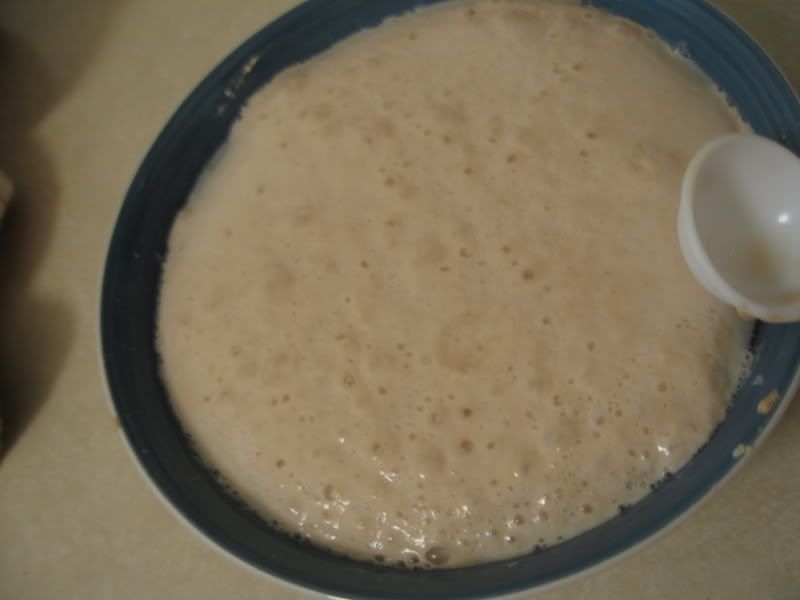
As in all bread baking recipes, it starts with proofing the yeast in some sugar and warm water for about 10 minutes or so, until it froths and bubbles, just to make sure the yeast isn't dead! It turned out super bubbly and frothy probably because the recipe called for quite a lot of yeast (4 teaspoons worth!).
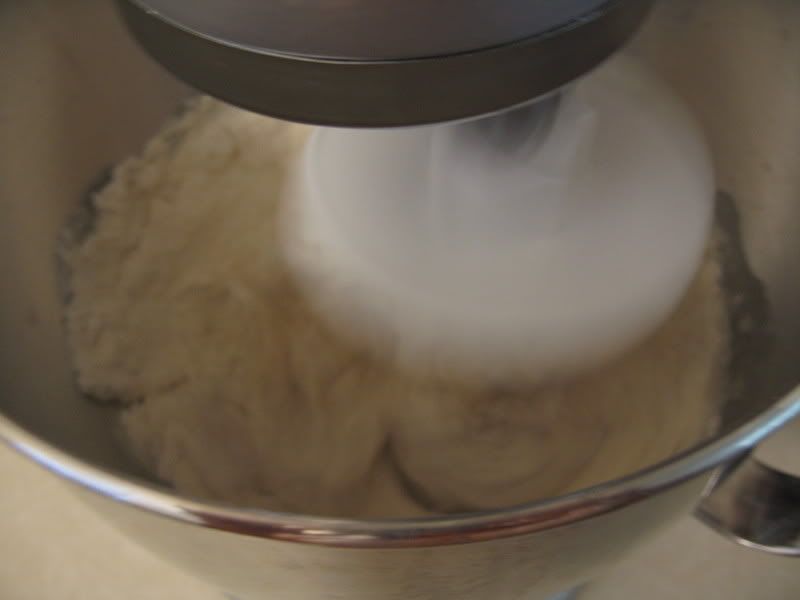
The dry ingredients are then mixed in the large bowl of the mixer ...
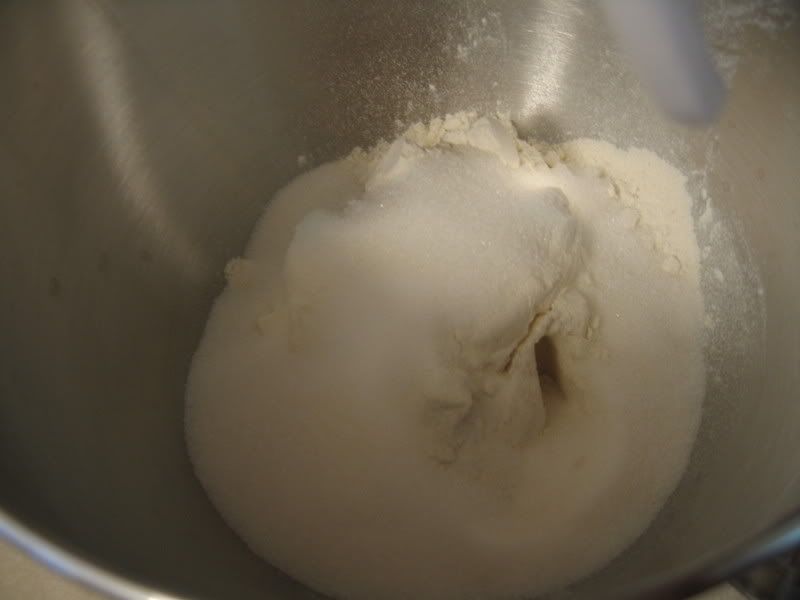
... before the yeast mixture is added and the whole thing kneaded with the dough hook until it forms a dough.
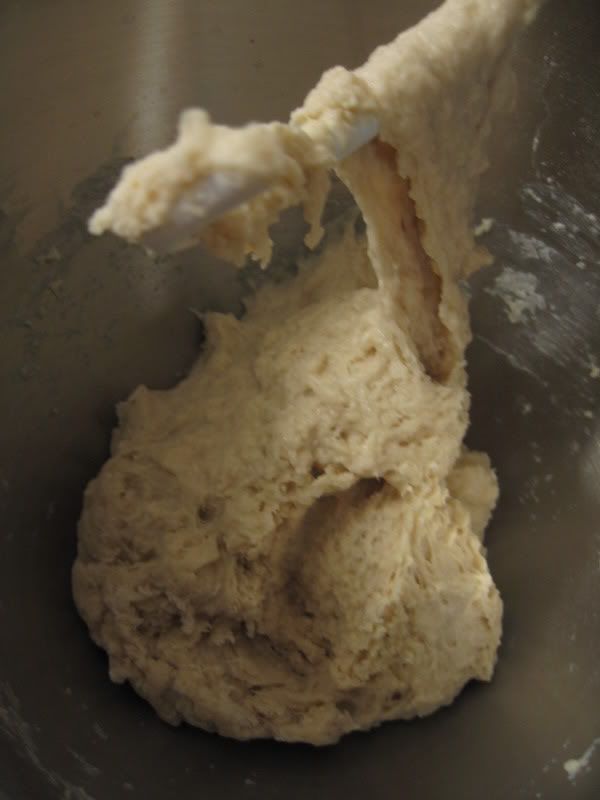
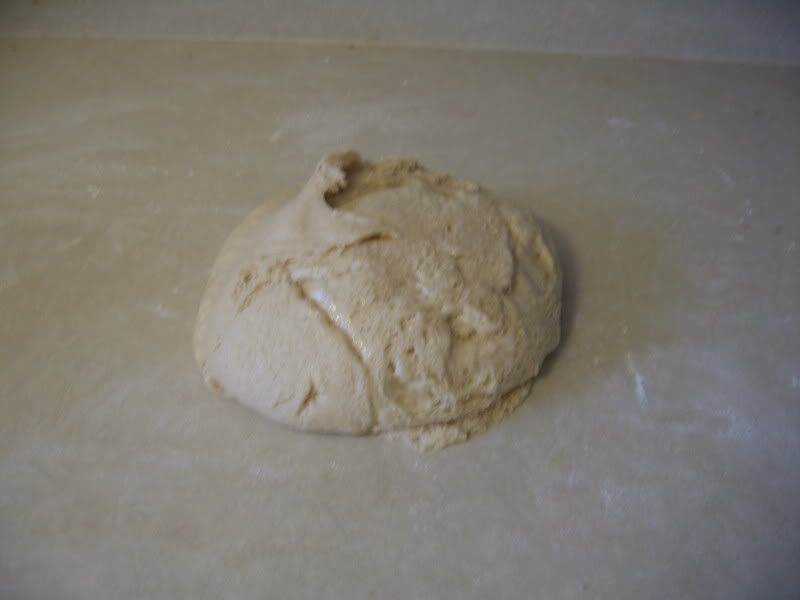
The dough is then kneaded for about 7-8 minutes until it looks like this.
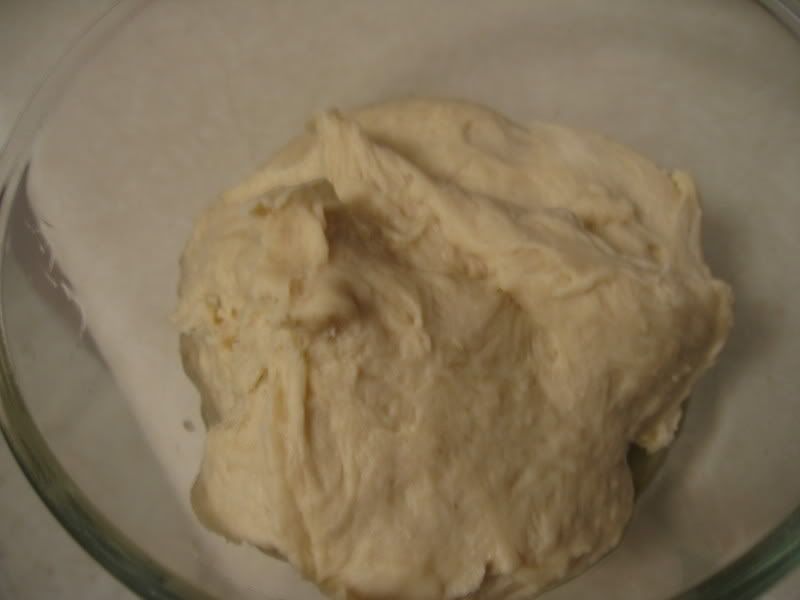
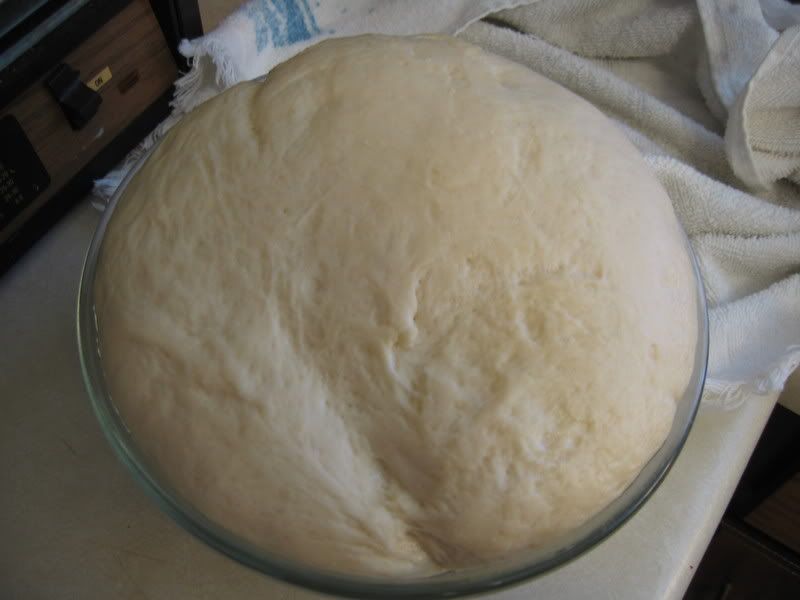
It was then transferred to a bowl that has been oiled thoroughly with a tablespoon of vegetable oil. The oil was distributed evenly all over the dough before it was covered with plastic wrap and left to rise for an hour in a draft-free environment.
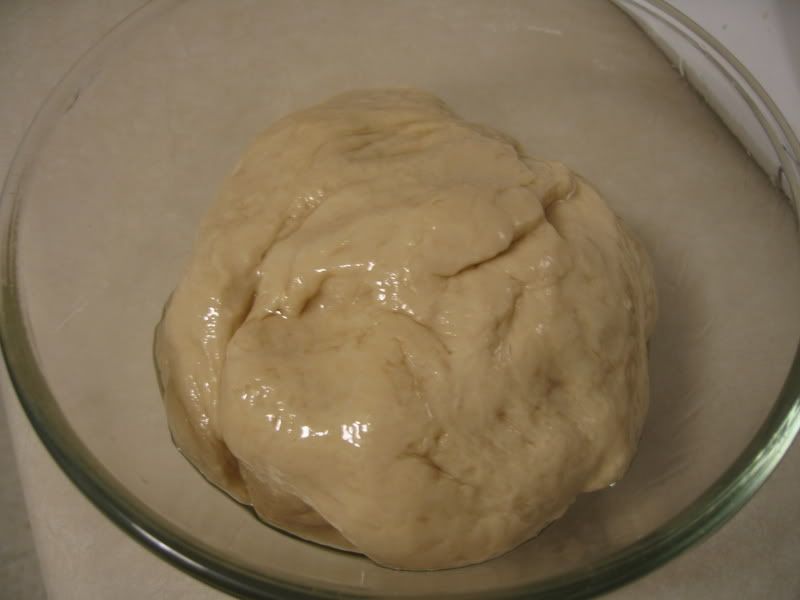
Look at my baby grow! It never fails to amaze me what yeast can do! It's magic!
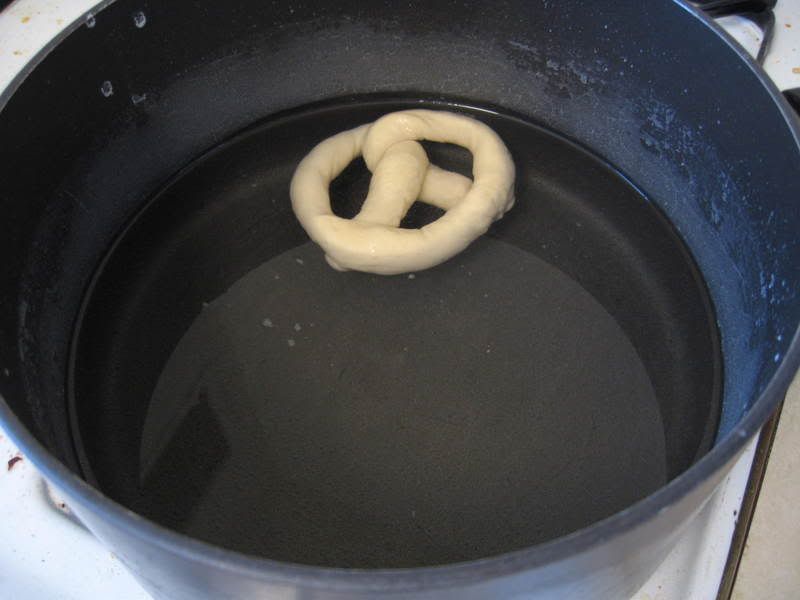
Before more dough playing can begin, I dissolved some baking soda in hot water which will substitute for the lye bath that is usually used by hard core pretzel bakers. Yes, you read it right: LYE BATH. The caustic base solution supposedly reacts with the gluten on the pretzel surface to precook it, thus allowing the surface to caramelize in the oven and give it that special pretzel texture. I wasn't about to actually purchase lye just for this so I settled with baking soda in hot water. After all, the thought of handling such a harmful substance in my kitchen, surrounded by my edibles just isn't that appealing, however unique a taste it might impart to my pretzels. The baking soda will fizzle and bubble quite intensely when you dissolve it in hot water.

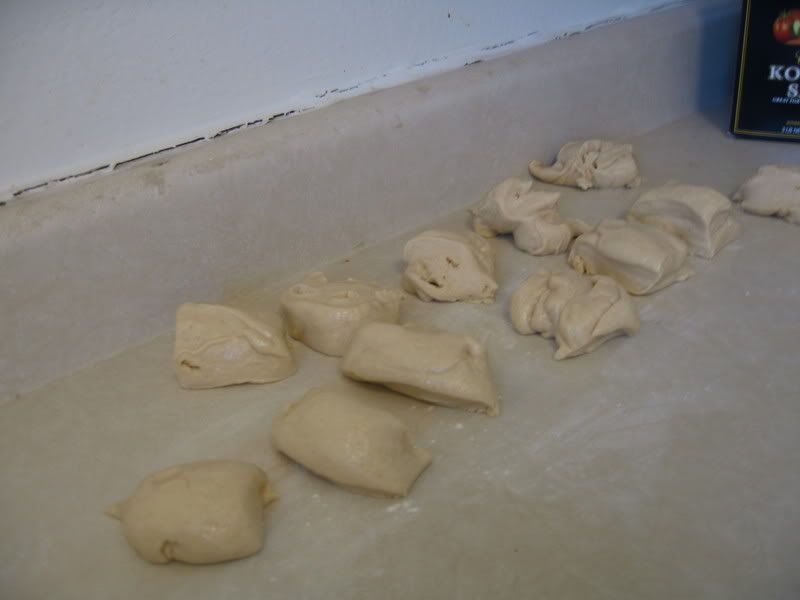
After that, I turned the dough onto a lightly-floured surface before cutting the dough into 12 about-equal portions.
Each portion is then rolled by hand until it is about 12 inches long. Flouring the table surface and your hands will really help with the dough rolling.
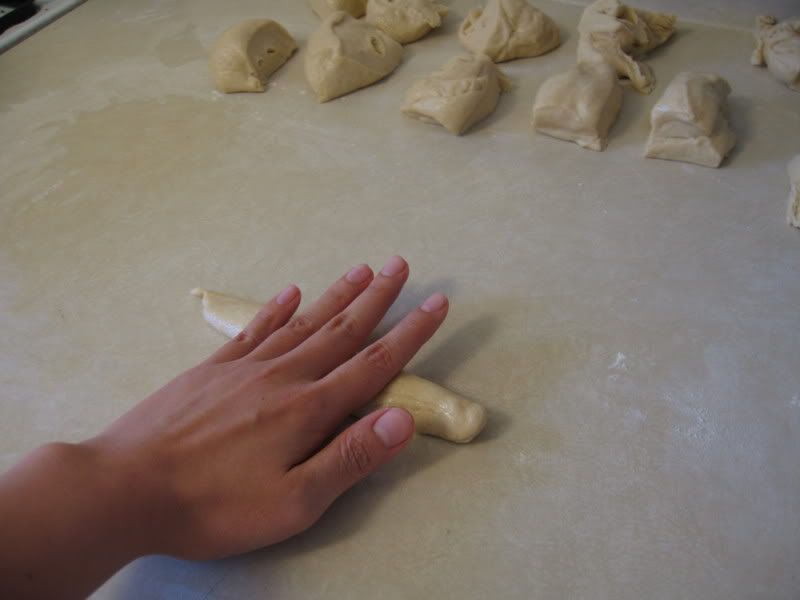
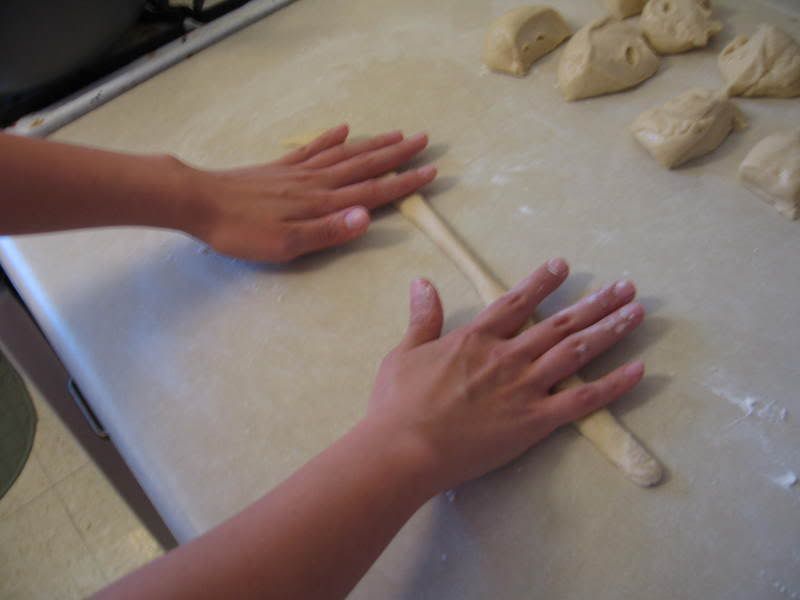
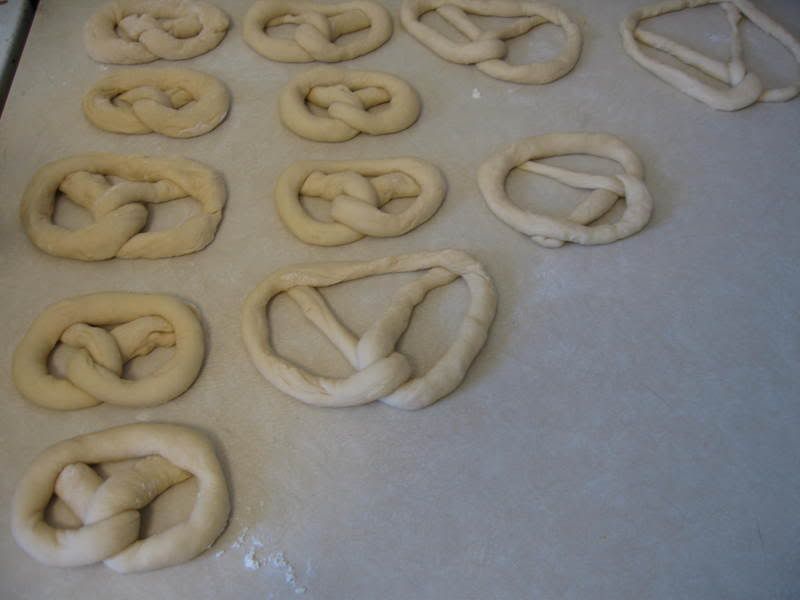
My dough rolling got better with each portion. The first ones were rather fat and pudgy-looking. The last ones are stringier and longer (which is the way I like it, I don't really like pretzels that are too dense). The dough-twisting into a pretzel shape also got easier with practice.
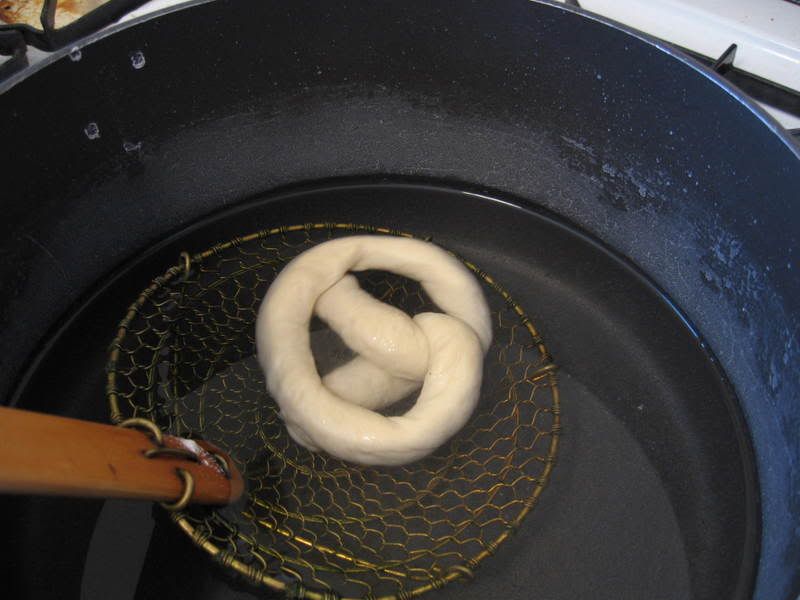
I let each pretzel swim in the baking soda solution for about 30 seconds before fishing it out with a Chinese-style strainer.
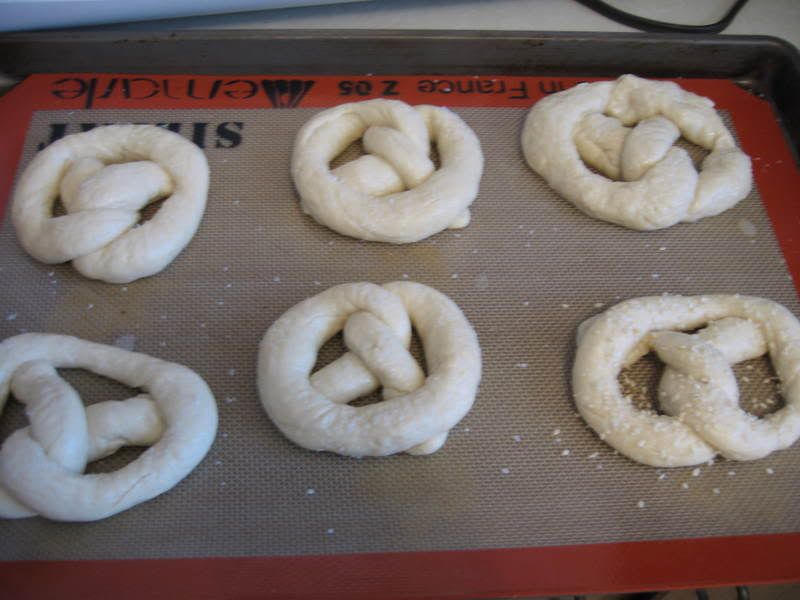
The pretzels are then lined up on a lined baking sheet before a sprinkling of coarse kosher salt and other topping of your choice, like sesame seeds (for on of them, mine!). Lining the sheet, I find, is uber important because if you don't line it with either a silicone baking sheet or parchment paper, it WILL stick onto your pan! One of my pretzels' sides got stuck to the side of the baking sheet and I had to soak the pan overnight to even barely scrub it off. I suspect the baking soda solution reacts with the heat in the oven to make it super sticky.
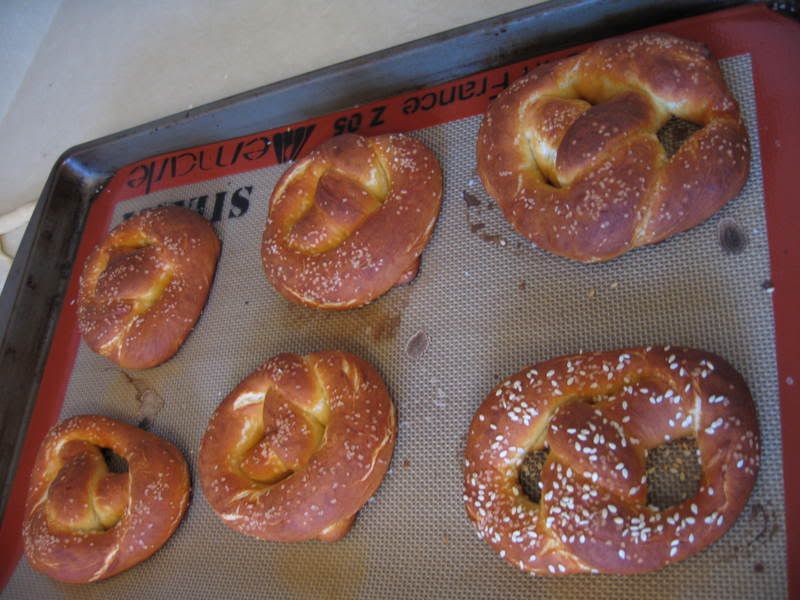
So this is what the first batch looked like: all nicely-browned and it was really fragrant too! I overcooked the first batch slightly so it didn't turn out as soft or as pillowy as I wanted it to but it still tasted very good.
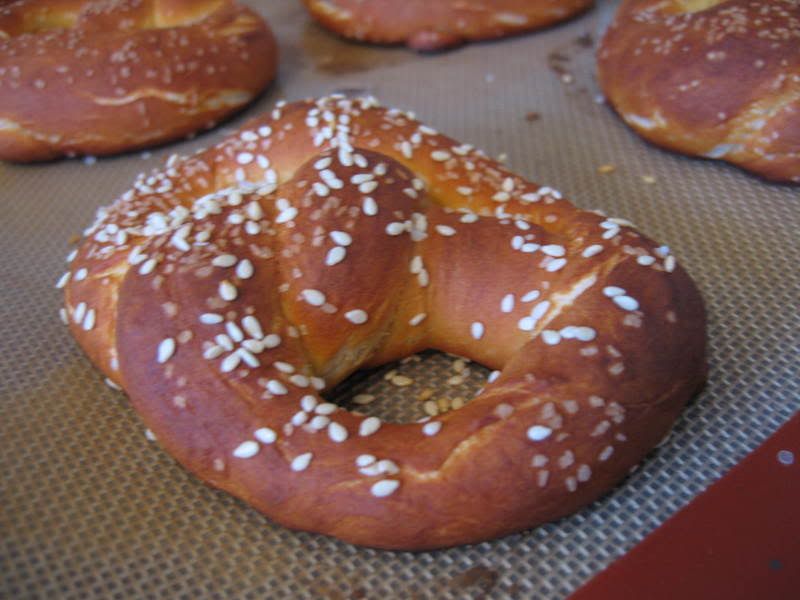
Here's my sesame topped pretzie.
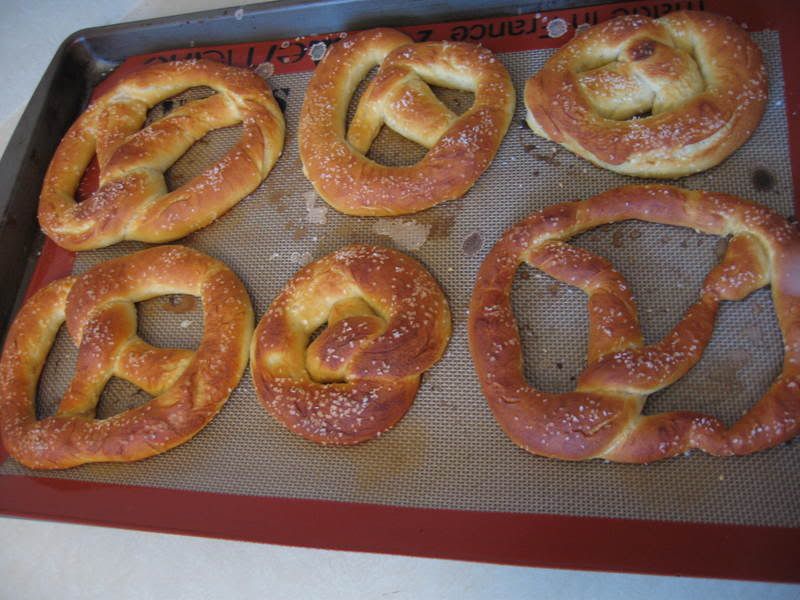
The second batch turned out a lot better not only because it's stringier (the way I like it) and I baked it for one minute less than the recipe recommended so it turned out softer and chewier.
It was a ton of fun making these pretzels at home. Not only is it much much cheaper, they taste as good! J had about 4 of these babies with his beer before I could freeze the rest for future snacking! However, the pretzel texture wasn't the same as the mall pretzies and I think a butter or egg wash glaze might've helped. So the next time I make these (which will be really soon), not only will I glaze them before baking, I'll also try out more adventurous toppings! Garlic Parmesan pretzies here I come!
1 comment:
Delicious cake and much work!You baked nice things!
Post a Comment